How To Design a Flyer Using Photoshop
Basic Flyer Template Design Tutorial
Today we’re show you how to design a flyer using photoshop cs6. It’s a basic photoshop tutorial which is very easy and useful for beginner.Let’s start with something really easy and simple flyer design, so that it will work as your warm-up tutorial! It is a basic flyer template where we are going to apply some simple photoshop tricks.
Resources
- Choose your favorite background images
- Photoshop CS6
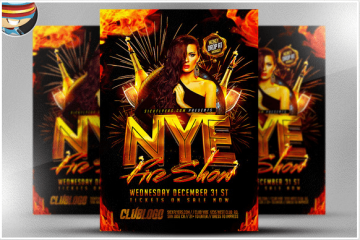
Final Result: We are going to create this flyer. This is our final result.

final result- basic flyer design
Tutorial Details
STEP 1 :First of all open a new document. Go File>New and follow the following setup.

step-1 File>New
STEP 2: Open a background image. You can download anything according to your choice from Google. Choose your favorite background image to test your creativity. Open a new file File>Open.

step-2 File & Open.
STEP 3: Now You have already Open your background, Drag and Drop it into your new document.

step-3
STEP 4: Press Ctrl+D to adjust it with your document just like the following picture

Step 4
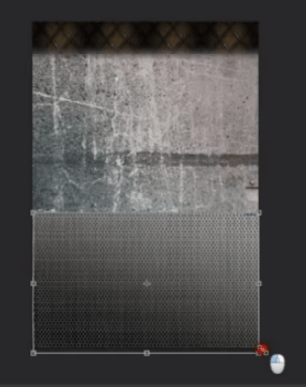
STEP 5: File>Open a new image to add a different effect at the bottom of the flyer. See in this tutorial I have taken an image similar to the following image. And again Drag and Drop it to your previous image that we found in STEP 4.

step-5
STEP 6: Press Ctrl+D to adjust the bottom of your flyer. Press ENTER after perfectly adjusting the image.
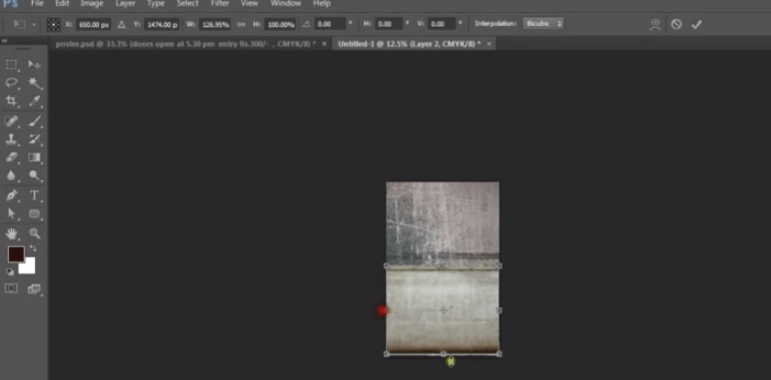
step-6
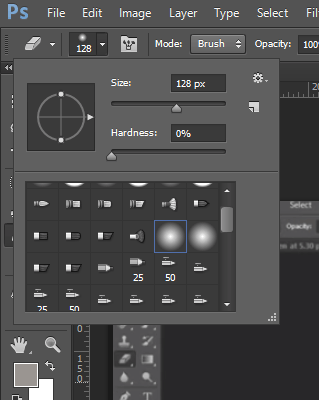
STEP 7:Select E (Eraser Tool), Choose Brush Size 128px. We are going to create some noise.
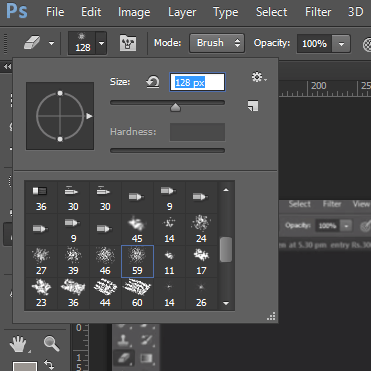
step-7
STEP 8: Apply the brush gently to the image.

step-8
STEP 9: Now File>Open to open another new image to give the result of step 8 a new look. Drag and Drop it.
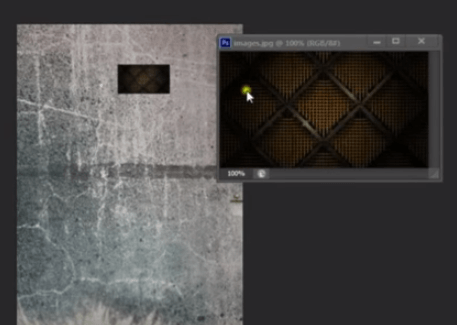
step-9
Step 10: Place the latest dragged image at the top corner of the previous image and press Ctrl+J to create layers and Ctrl+D to adjust it on the top of the flyer
step-10
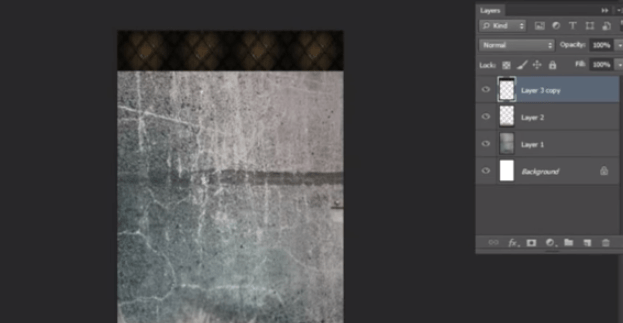
STEP 11: Select M (Rectangular Marquee Tool) Select the end of the top part. Right CLICK the mouse and choose feather and set Fearher Radius to 40.
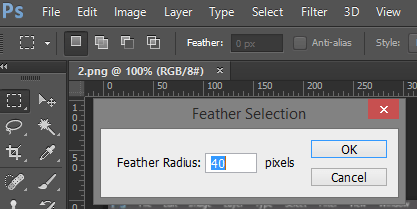
step-11
STEP 12: Delete the end of the top part to make it Smooth
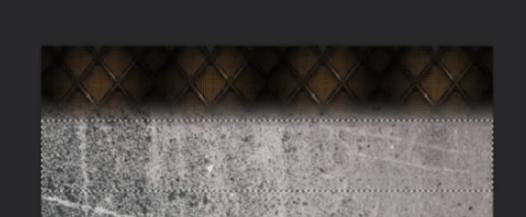
step-12
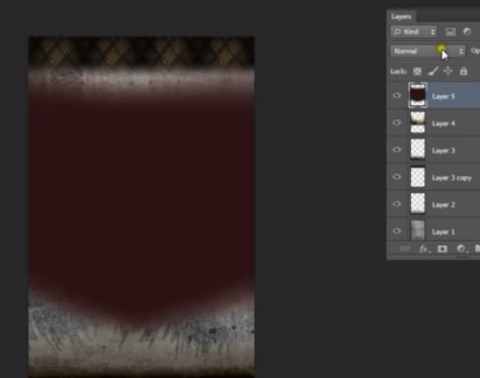
STEP 13: File>Open one new image to give an effect at the bottom. Drag and Drop. Ctrl+D to adjust
step-13
STEP 14: Use a soft Brush to erase some portion of this image
step-14
STEP 15: Set the layer “Color Burn”, set the Opacity 56%

step15
STEP 16: File>Open a crowd image. Drag and Drop, Ctrl+D to adjust it on the middle.
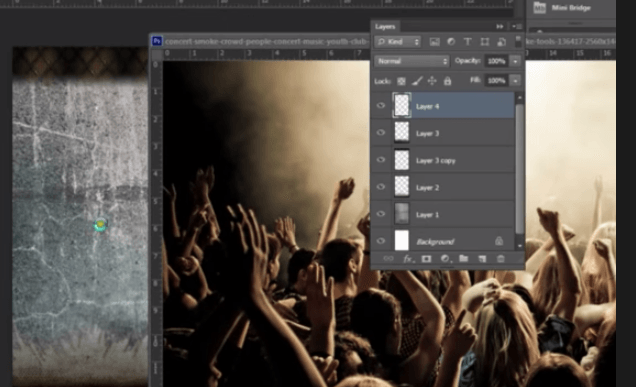
step-16
STEP 17: Select M (ElipticalMaquee Tool) and select some part of the picture. Set Feather 50 and press Enter. Also do the same at the end of this crowd layer

step-17
STEP 18: Create a New Layer and do the following setting. Press Enter.

step 18
STEP 19:Select E (Eraser Tool). Erase top and bottom.
step-19
STEP 20: From layer Normal to “Color Dodger”. Opacity 75%

step-20
STEP 21: Now Its time to SET Text. You can Give a Title and can use your favorite font style and font size.

step-21
STEP 22:Change the text color and layer style. Set the Overlay according to your choice

step-22
STEP 23: Add all the texts and give it a final touch

step-23
Try it out! If you face any problem To Design a Flyer Using Photoshop , do not hesitate to comment below about your problem.. we are ready to help you. Don’t forget to share this how to design a flyer using photoshop post on your facebook, twitter and other social media site.


1 Comment
Hi, I like this tutorial and was wondering if it is possible to get the psd file. Thanks you are the best.